Project Details enable you to set up the general parameters of your project, such as the physical address of your store, order identification numbers, currency displayed on your online store, payment gateways to process customer payments securely, shipping options, and carriers to ensure smooth and efficient order fulfillment.
Configuring Project Details
To set up project details:
1. Go to Settings > Project Details on the Dashboard.
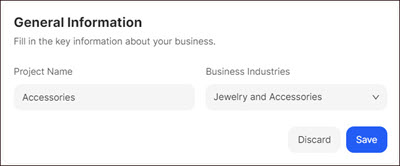
2. Fill in the key information about your business in the General Information section:
- Enter your project name.
- Select the field industry from the Business Industries drop-down list.
3. Provide your business-related email information in the Contact Information section to set up a personalized email for your store:
- Enter your store contact email.
- Indicate the sender’s name.
- Enter the sender’s email. This email serves as the Your Email variable in Settings > Legal Docs.
Tip: To enable this section, click Connect Domain (see Domains).
4. Indicate the physical address of your store in the Business Details section.
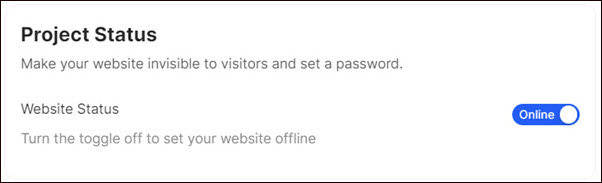
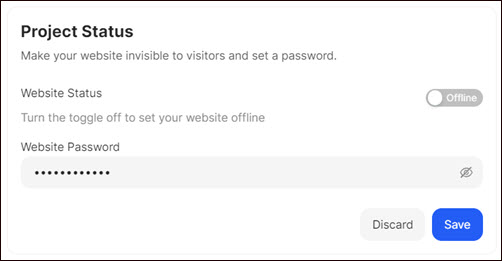
5. Enable/disable Website Status to make your website available/unavailable to the users in the Project Status section. If you want to make your website unavailable to the public, you can set a password to your site and share it with the team members only.
6. In the Multi-Regional Settings section, select the parameters that determine how your website's language is detected.
Note: If your content is unavailable in the detected language, it is automatically displayed to your customers in the default one.

7. Add your brand logo or images to the Logo and Icons section. To do so, click Upload and select the corresponding icon/logo, or upload the media content from the computer, free stock (powered by Unsplash), or insert the URL. The uploaded logo is used as a Logo Widget.
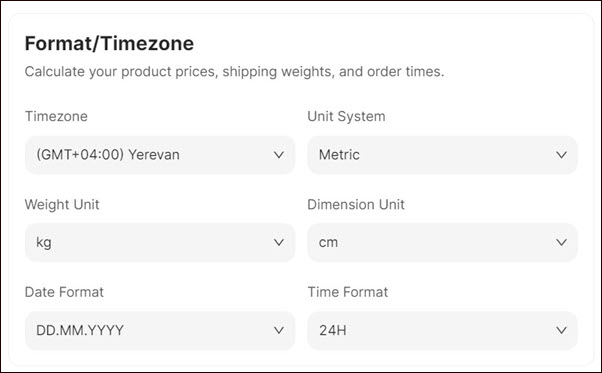
8. Make the core configurations of your project in the Format/Timezone section: shipping weights, dimension units, time and date format, etc., to calculate the product prices.
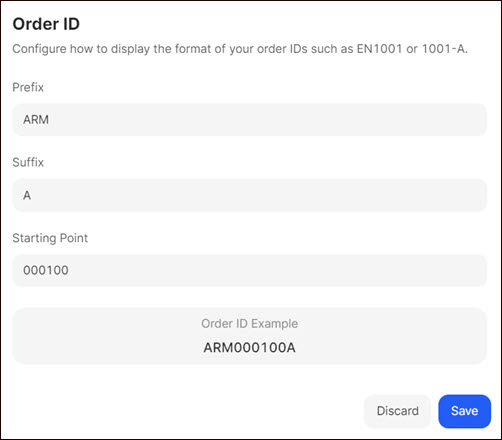
9. Every order in your online store gets a unique ID. This helps distinguish the orders from one another and serves as a reference point for you and your customer to track and manage your orders. The order ID is usually a combination of letters, numbers, or a mix of both, and it is unique to every order.
Configure how to display the format of your order identification numbers in the Order ID section
- Enter the prefix (required) and suffix (optional).
- Indicate the sequential number that increases with each new order. For example, the first order may have an ID of 10001; subsequent orders may be assigned IDs such as 10002, 10003, etc.
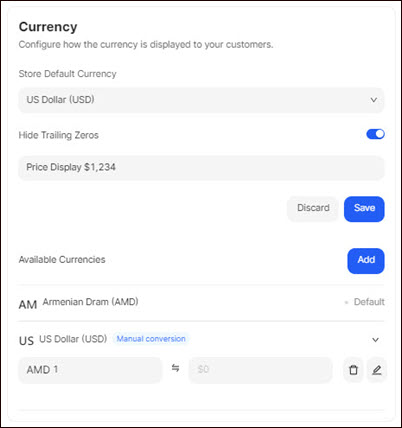
10. Provide the information requested in the Currency section:
- Select the default currency that is displayed on your online store.
- Hide/display the trailing zeros of the displayed price.
- Click Add to add a new currency to your online store.
- Select the corresponding currency and click Add.
Expand the corresponding currency, click the Edit icon, and select the type of rate configuration to implement the currency conversion. The following types are available:
- Manual - the exchange rate is set manually.
- Automatic - the exchange rate is set automatically based on current rates.
11. Add social media accounts to your online store to the Social Links section:
- Click + Add Social Account, select the corresponding social platform, and enter the hyperlink.
Note: The submitted data is the default data in the Follow Us widget.

Tip: Once you fill in the fields, click Save or Discard to save or remove the setup configurations.
💡 If you have questions or concerns, contact us directly via the Live Chat box, in the lower right corner. Our Support Team will provide you with top-notch quality support 24/7.