Notifications are SMS or email messages sent to your customers to inform them about their account verification, registration, order confirmation, shipping, etc. Depending on the user preferences, you can configure the alert messages sent to your customers via various channels: SMS or Email.
Notifications are a valuable tool for your website to engage with your customers, keep them informed, and improve their user experience. By providing relevant information, notifications can help you stay connected and build strong customer relationships.
The following types of notifications are available:
- Account Notifications - sent to you and your customers upon registration.
- Order Notifications - sent to you and your customers upon order placement.
- Admin Notifications -sent to you (or those with admin permission) upon order placement.
- Event Notifications - sent to your customers upon ticket order placement.
- Booking Notifications - sent to your customers upon booking order placement.
Configuring Email Notifications
To configure notifications sent via email:
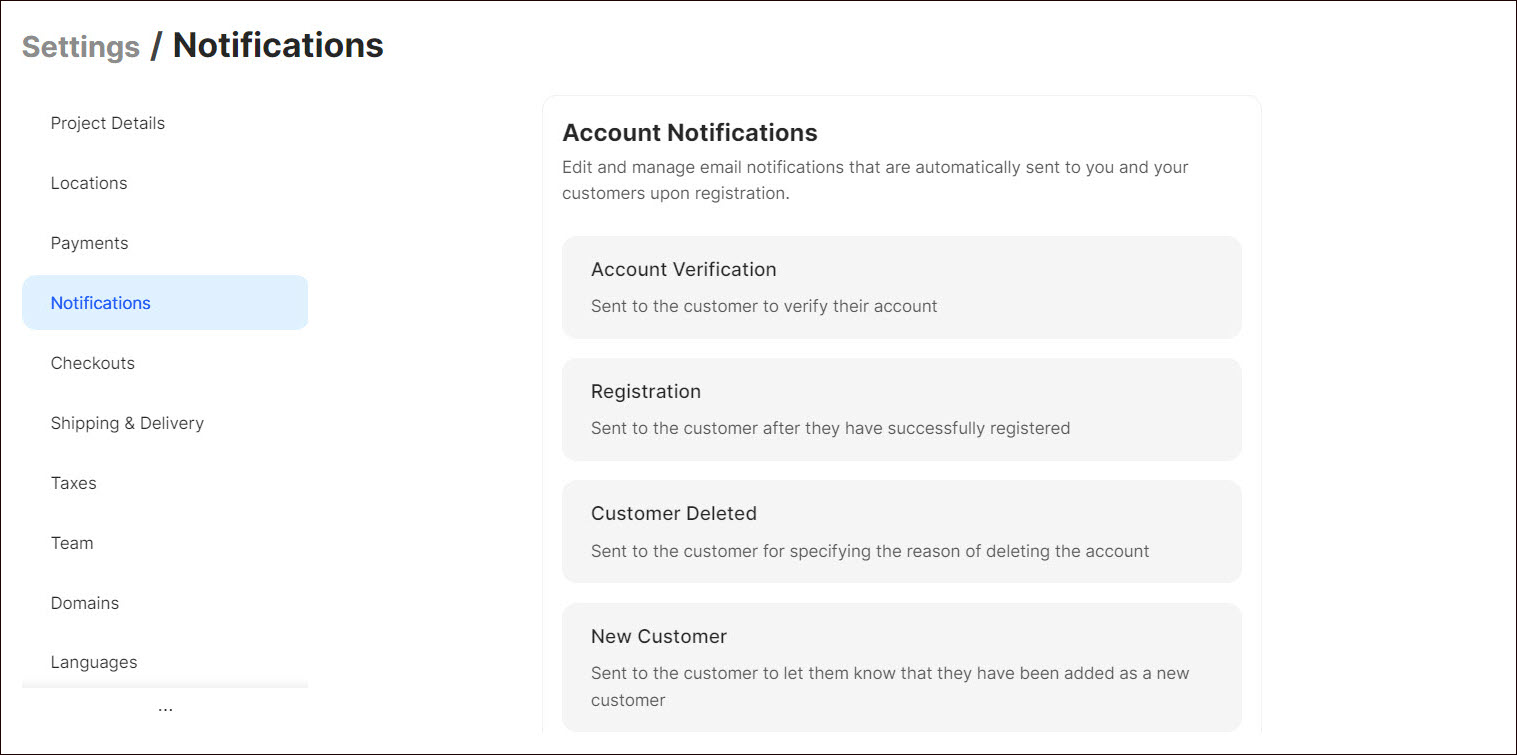
- Go to Settings > Notifications on the Dashboard.
- Click the corresponding type of notification you want to set up.
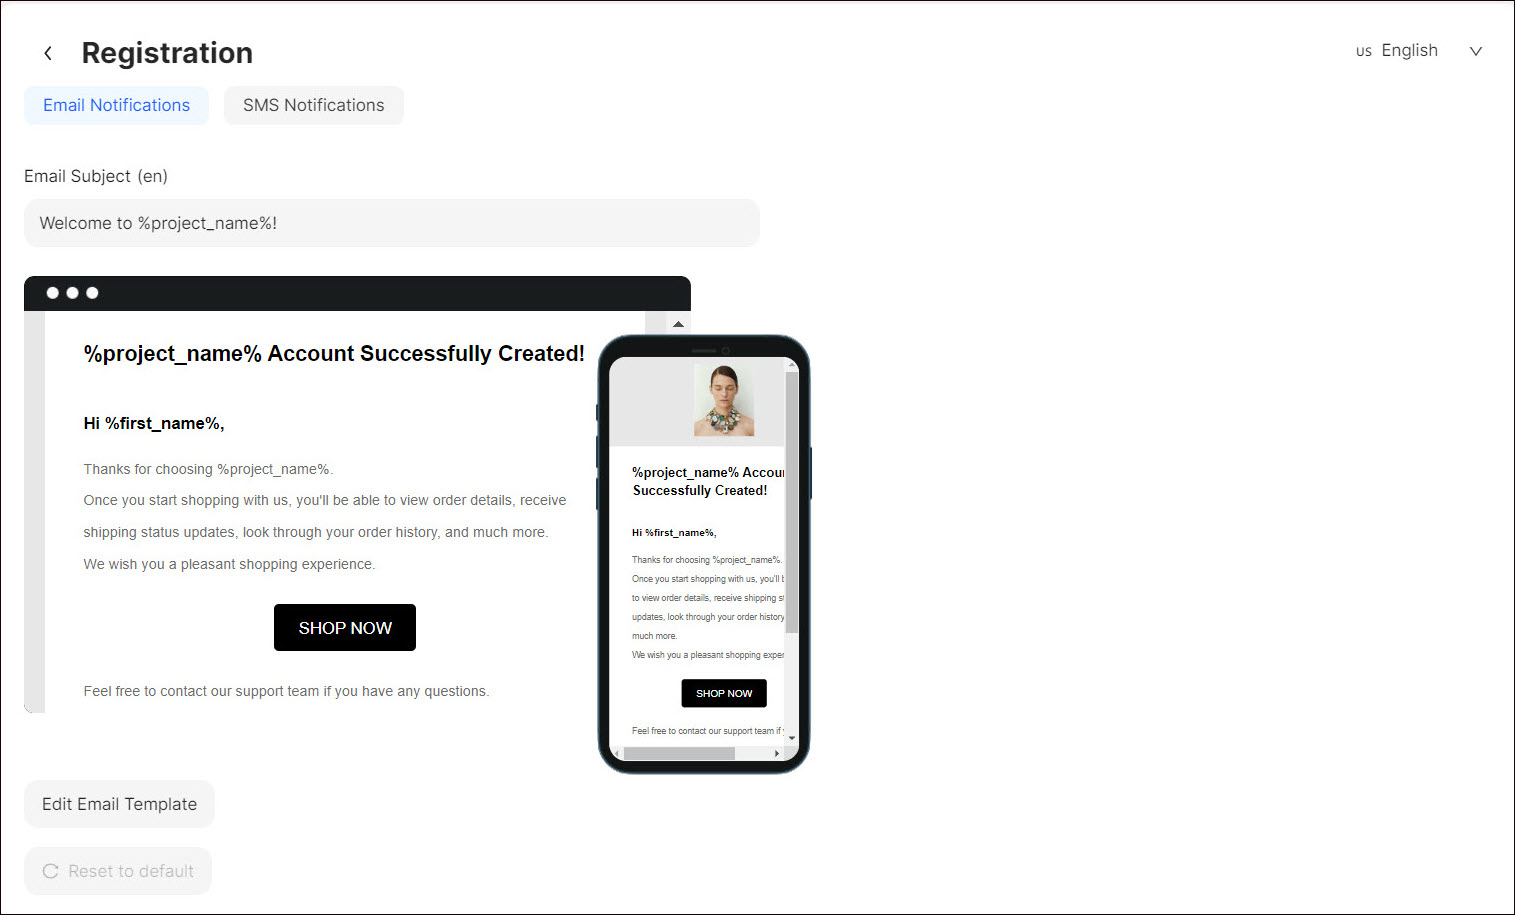
- Click Edit Email Template in the form that opens.
- Create your desired template (see Email Template Editor).
- Click Save.
Email Template Editor
The email template editor allows you to create and design templates for the emails sent to your customers. The editor provides you with quick and easy access to styling tools to modify and customize the visual elements of your email templates.
The email template editor offers a list of available variables on the right side corner of the page. The list allows you to define variables within your template that will be replaced with actual data when the template is processed. These variables serve as placeholders for the dynamic content and enable you to create customized emails based on specific data values.
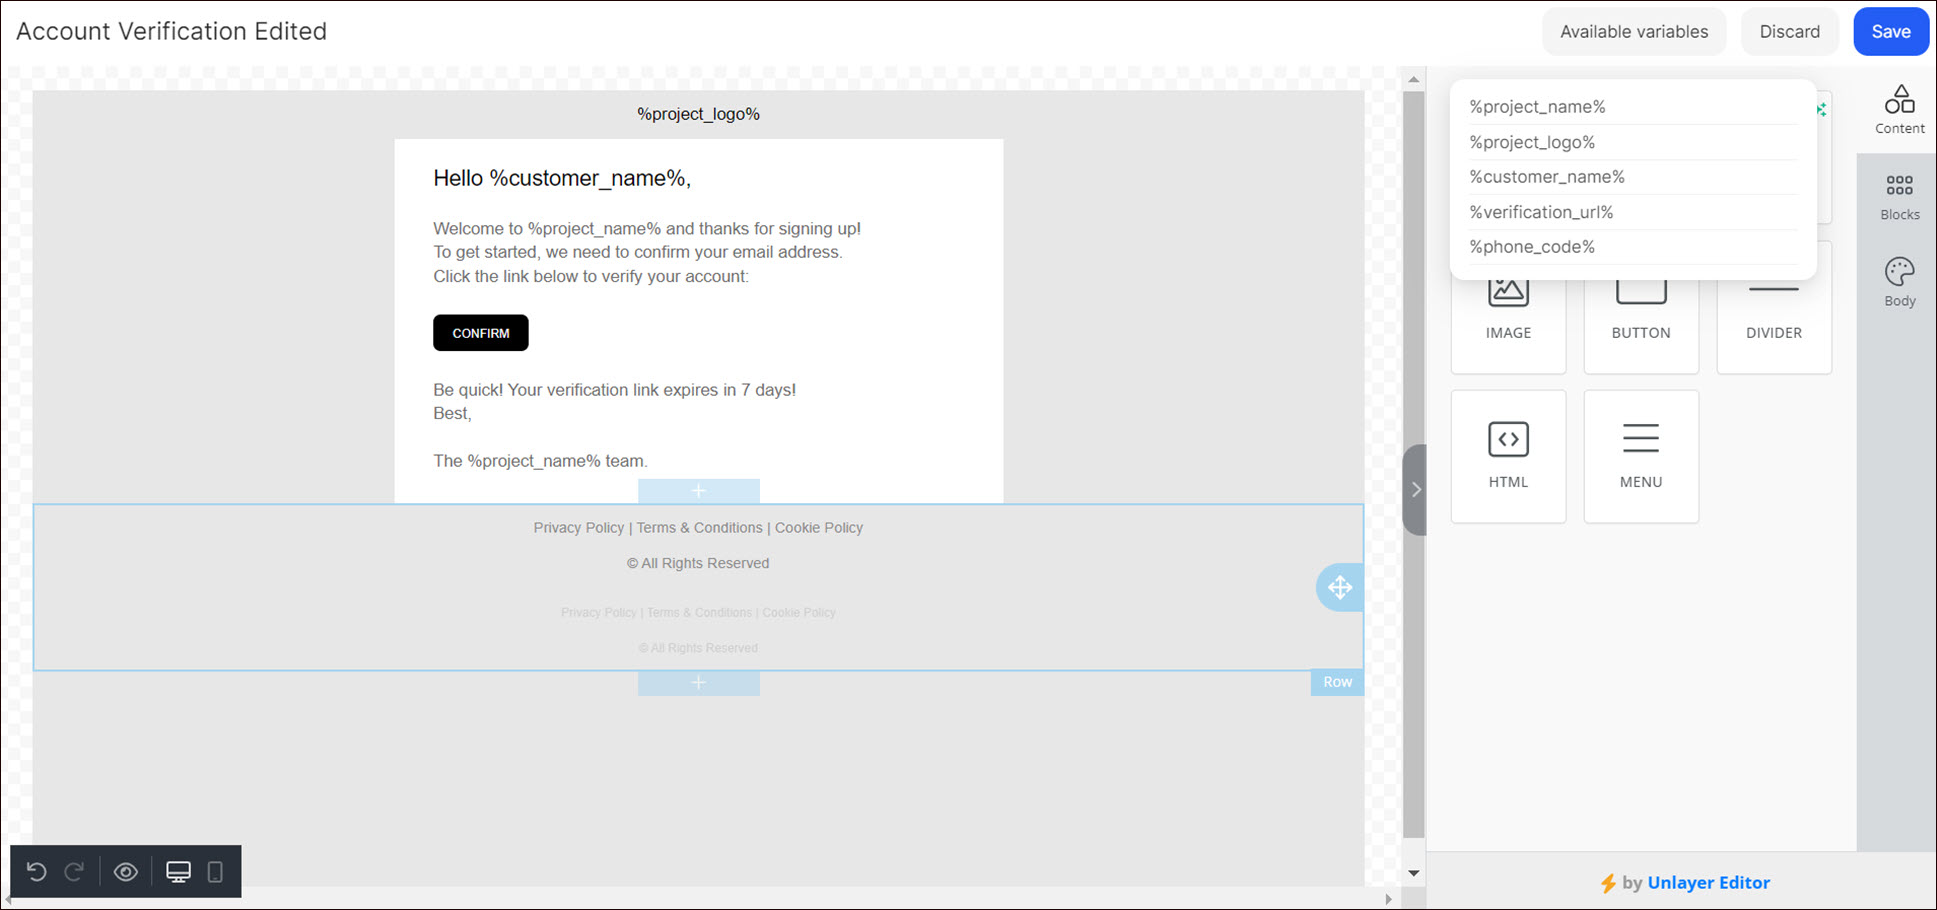
The email template editor comprises the following units:
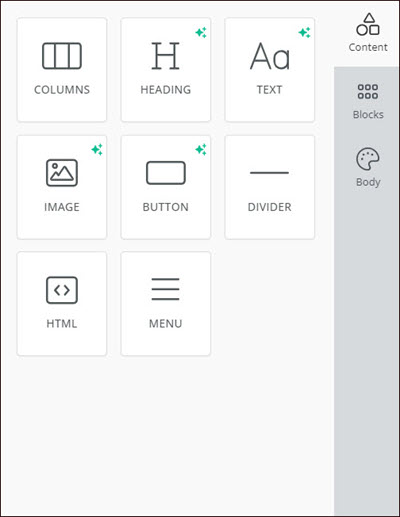
- Content
This unit comprises the widgets that enable you to add features to your email template. You can select the desired widget, drag-and-drop it onto the Layout Canvas, and adjust it. Click on the widget and modify fonts, sizes, colors, spacing, and other properties from the right Property Panel. The Property Panel allows you to edit the styling of your template both for mobile devices and desktops.
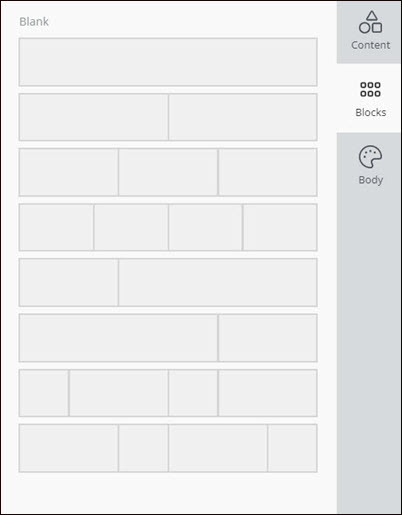
- Blocks
This unit comprises blocks that divide the content into meaningful sections. For example, your template might have blocks for the header, navigation, main content, footer, etc. Each block represents a specific area of the page and contains related elements. You can select the block, drag-and-drop it on the Layout Canvas, and add the relevant content.
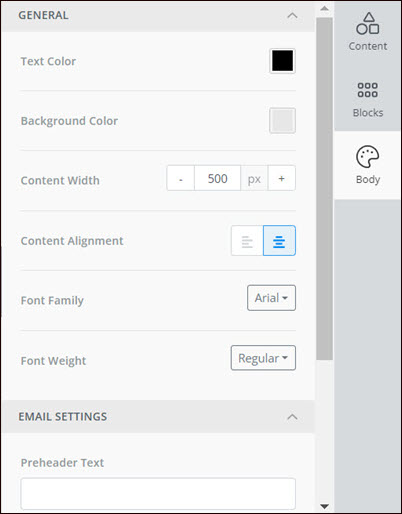
- Body
This unit comprises the general styling features of your created content, such as text and background color, content alignment, preheader text, etc. You can modify the corresponding general design features on the right side of the panel.
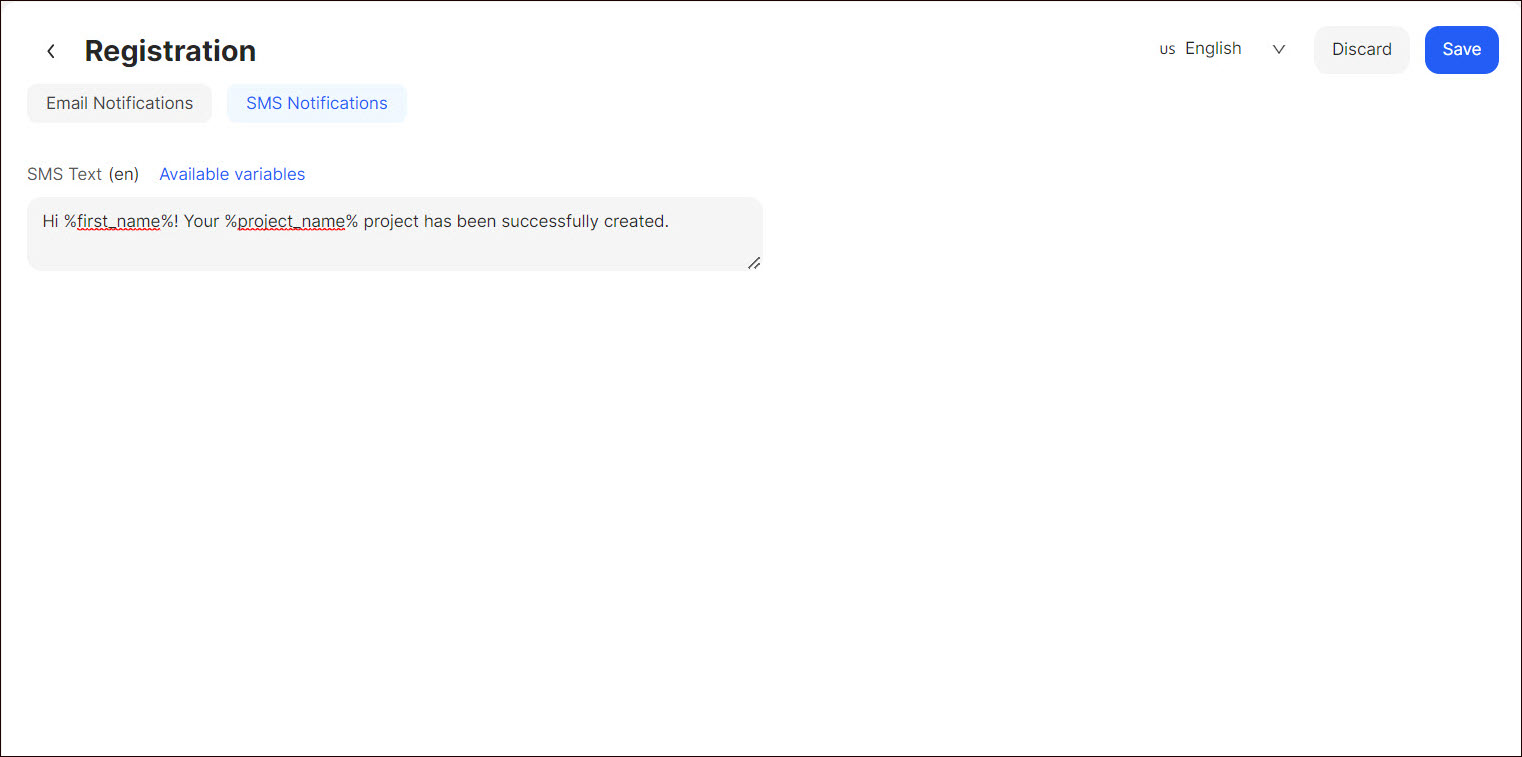
Configuring SMS Notifications
To configure notifications sent via SMS:
- Go to Settings > Notifications on the Dashboard.
- Click the corresponding type of notification you want to set up.
- Click SMS Notification.
- Enter the notification text.
- Click Save.
Resetting the Notification to Default
To reset the notification to default:
- Go to Settings > Notifications on the Dashboard.
- Click the corresponding type of notification you want to set up.
- Click Reset to default.
💡 If you have questions or concerns, contact us directly via the Live Chat box in the lower right corner. Our Support Team will provide you with top-notch quality support 24/7.