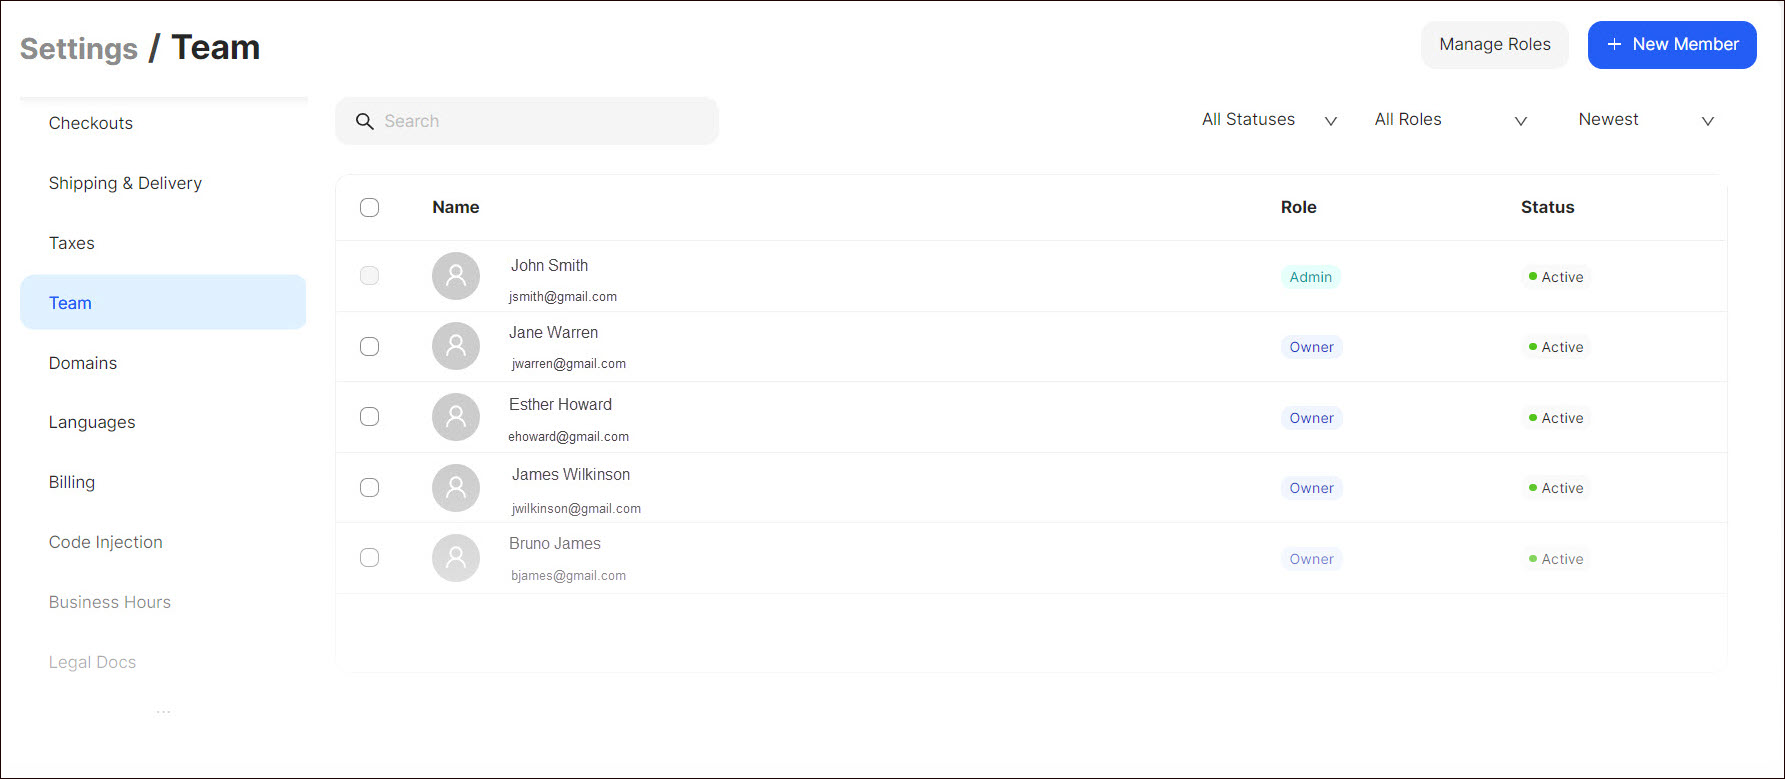
The team members play an essential role in running and maintaining your online store operations. They can be internal employees or external collaborators, such as freelancers or contractors. The Team page enables you to customize the access levels and permissions for each staff member. You can invite new members, and grant them corresponding permissions to create and update products, categories, etc.

Here you can:
- invite a new team member;
- manage roles by granting the team members corresponding permissions;
- search for corresponding team members;
- sort the team members by their statuses, roles, alphabetical order, and creation date.
Tip: To delete or edit team members, highlight the team member from the list, click the Dotted Menu, and select the appropriate option.
Inviting a Team Member
To invite a new team member:
- Go to Settings > Team on the Dashboard.
- Click + New Member.
- Provide the information requested in the form that opens:
- Indicate the email of the team member.
- Select the role of the team member.
- Enable the corresponding permissions by assigning various roles to your team members for managing specific parts of your Dashboard applications (see Apps).
- Click Send Invite.
Note: The new team member joins the team by accepting the received invitation by email.
Managing Roles
To grant permissions to each role to perform certain operations:
- Go to Settings > Team on the Dashboard.
- Click Manage Roles.
- In the opened popup select the role.
- Click Save.
Tip: You can create a new team member by enabling and disabling the corresponding permissions that will allow the team member to manage the website. To do so, click the Dotted Menu, select New Role, enter the role name, and click Save.
💡 If you have questions or concerns, contact us directly via the Live Chat box, in the lower right corner. Our Support Team will provide you with top-notch quality support 24/7.