Importing and exporting CSV or XLS files allows you to efficiently transfer data between different platforms. Importing files from an external source enables you to quickly populate your Dashboard with predefined data (products, product categories, and collection categories) and update the existing data. Exporting your data allows you to back up or share your existing data with other users or systems. This functionality handles data management, facilitating smooth integration and data synchronization across platforms.
Importing Files
You can import files related to these sections:
- Products
- Product Categories
- Event Categories
- Booking Categories
- Collection Categories
To import files:
- Click Import.
Note: When importing products, you need to choose the Product Family. - Upload a CSV or XLS file and click Continue.
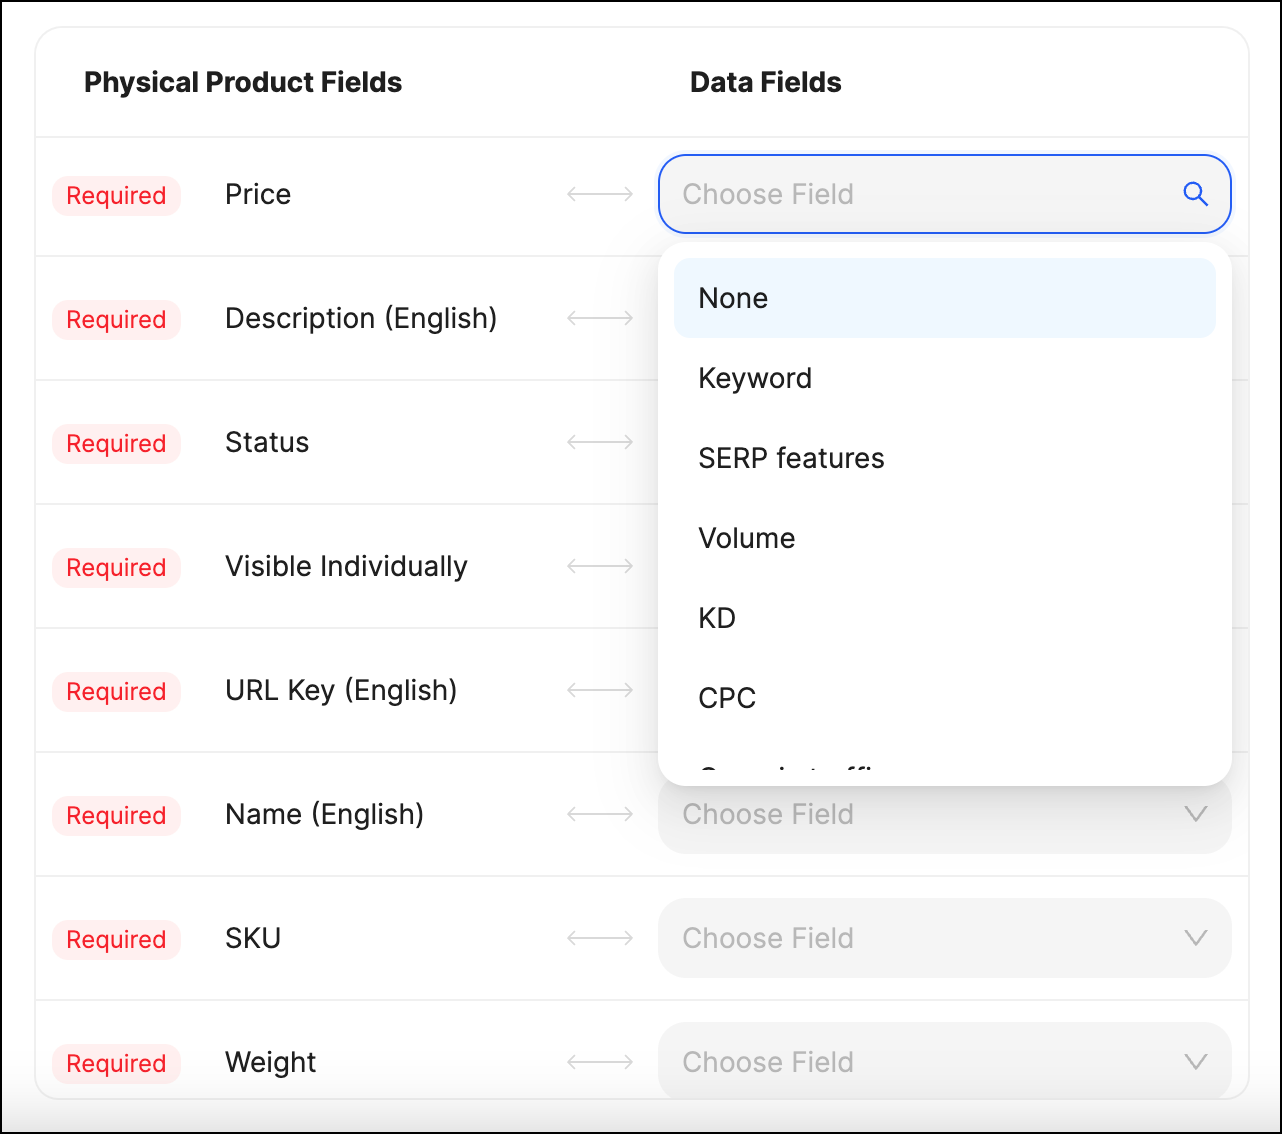
- Map the fields of the left column with the fields from the imported file by clicking the dropdown list and selecting the appropriate option.
Note:- The left column includes the fields required for categories or products, while the right column consists of dropdown lists of fields taken from the imported file.
- In the case of products, the left column is more dynamic and includes fields for all the attributes created for the product being imported.
- For importing product variants, it is crucial to map the parent SKU of the variant to the main product SKU to create a product variant instead of a new product.
The system automatically matches the fields with the same name.
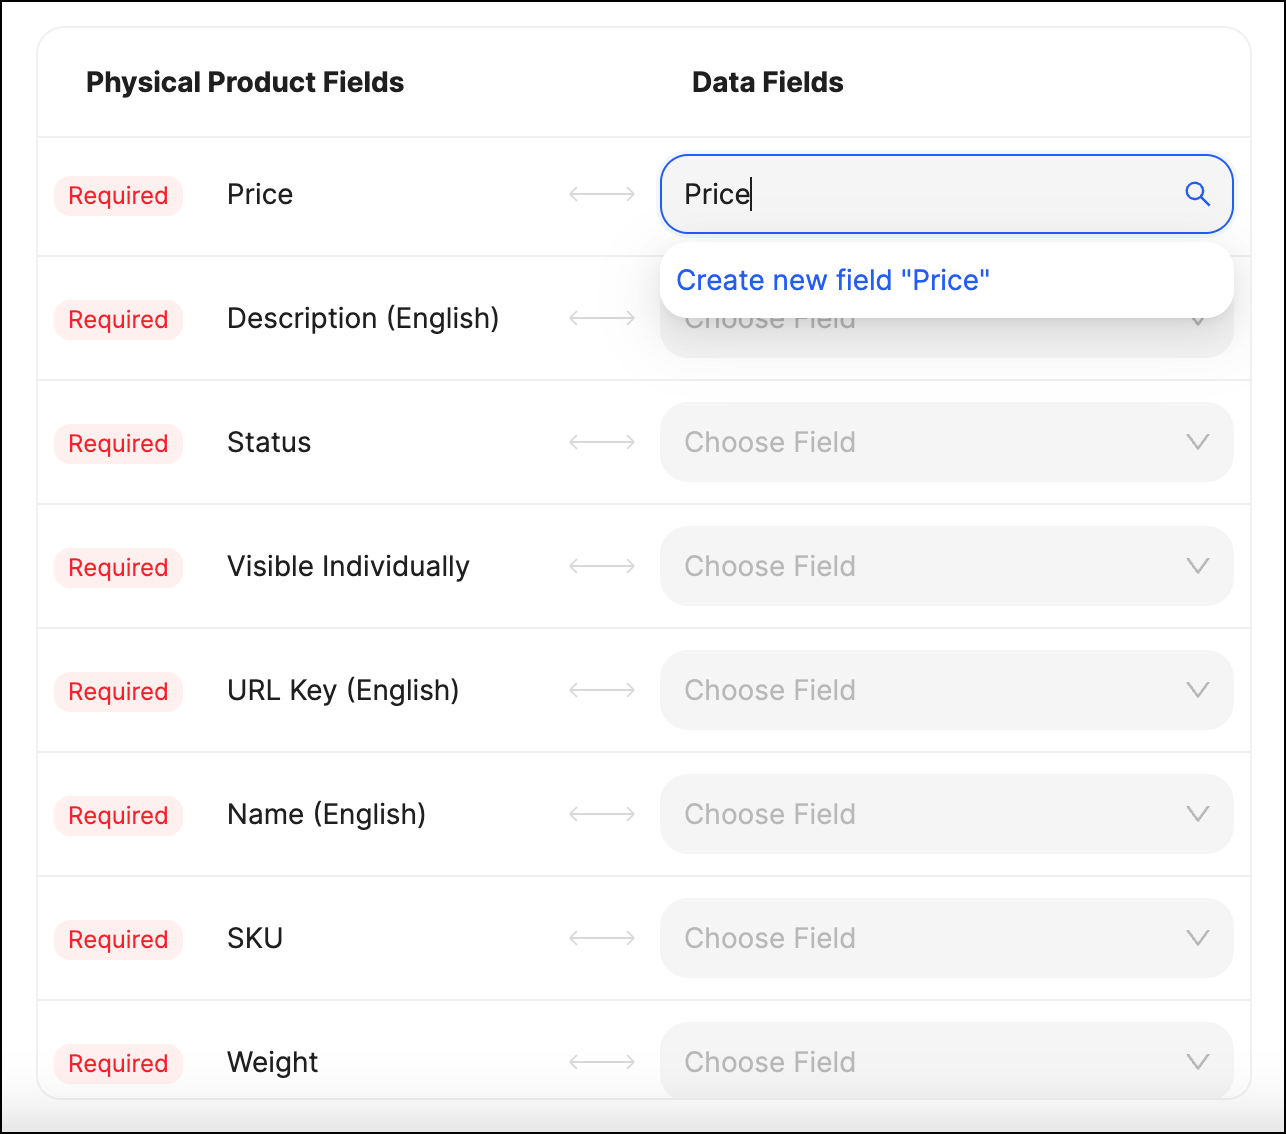
If you want to map another field from the source file with the left column field, search for the relevant field in the dropdown list or create a new field with its default value directly from the dropdown list.
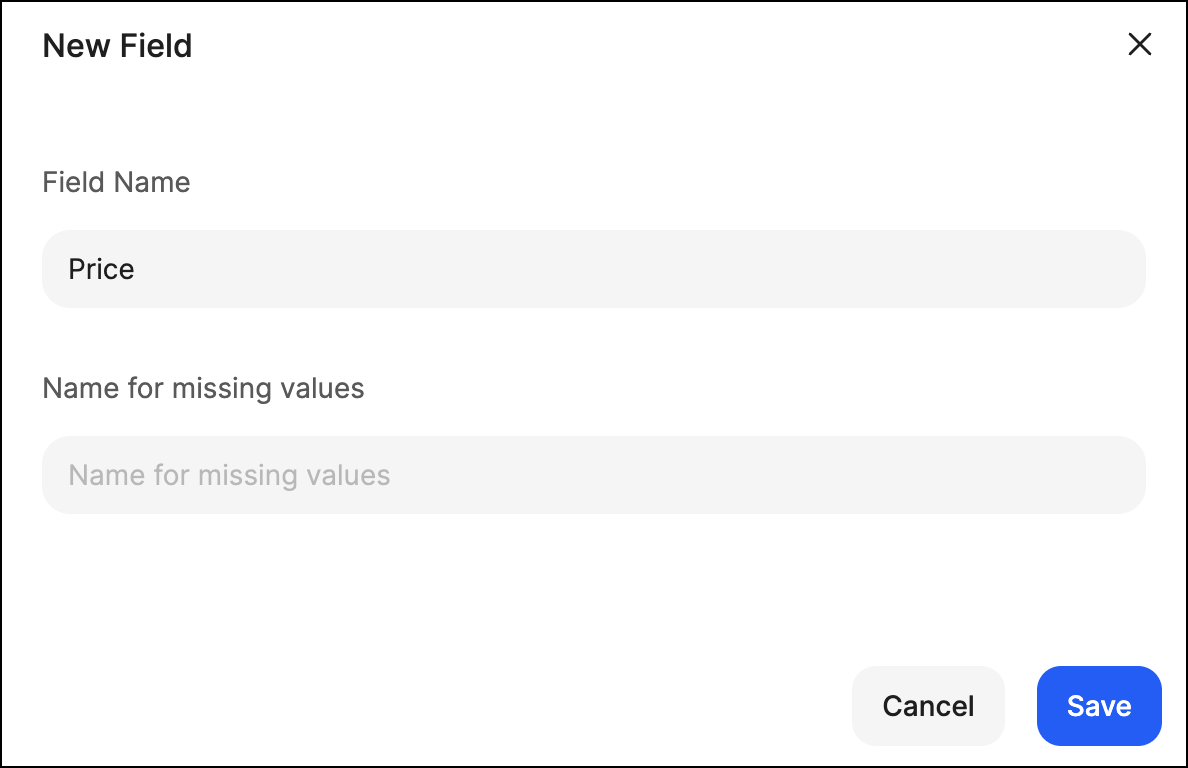
To create a new field:Click Create new field.
- Fill in the name for the missing value on the popup.
Click Save.
Once the value is generated, it is, by default, applied to all the appropriate fields of the imported file.
4. Click Start Import.
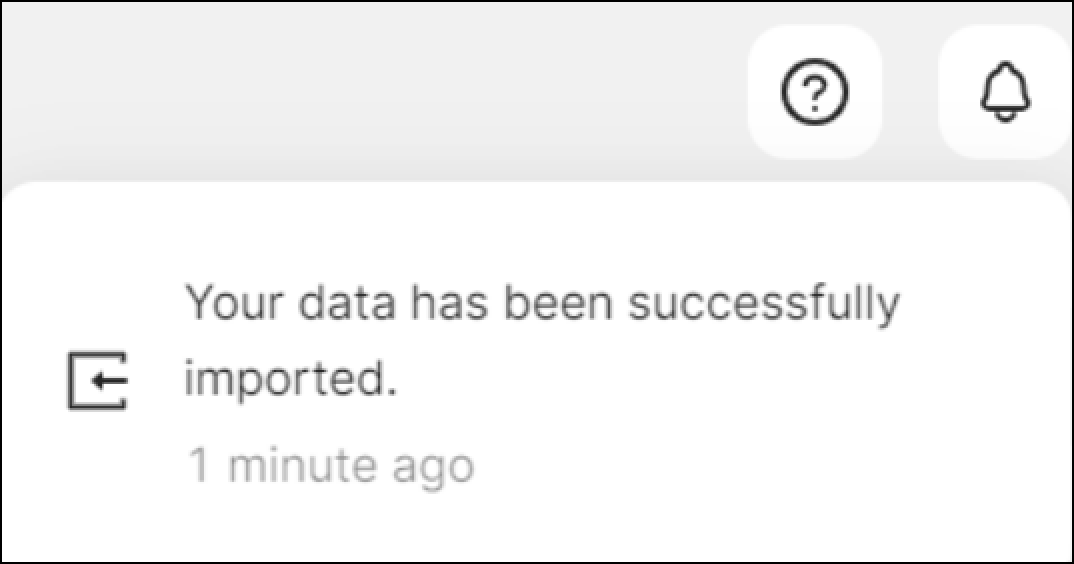
Once the import process is completed, you are notified about it both on your Dashboard and through email.
Upon successful completion, a progress report on updated, new, and skipped items is presented to you. The report also includes the validation errors for the skipped ones.

Note: You can download a sample CSV or XLS file template to see the required format for import.
If your source file format does not align with the Ucraft import format, you need to perform data conversion or restructuring to ensure compatibility.
Exporting Files
You can export files related to these sections:
- Products
- Product Categories
- Event Attendees
- Event Categories
- Booking Categories
- Collection Categories
- Customers
To export files:
- Click Export.
- Choose the file format (CSV or XLS) and click Export on the popup.
The file is delivered to the email address you provided when onboarding.
Note: You can use these functionalities to update your products in bulk:
- Filter the list to get targetted results (optional).
- Export them in a CSV or XLS file.
- Make the required changes in the file.
- Upload the file back to the platform.
The values are updated according to the product SKU.
💡 If you have questions or concerns, contact us directly via the Live Chat box in the lower right corner. Our Support Team will provide you with top-notch quality support 24/7.