You can create fields of the required type and assign them to a collection to structure the content of items within the collection. Select the appropriate field type based on the specific data that needs to be provided for the items within a collection. The fields are shared across all items within the collection, ensuring consistency in data input.
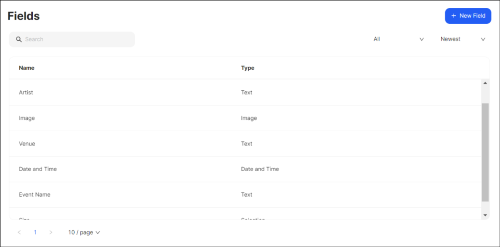
On this page, you can:
- Create a new field.
- Search for the relevant fields.
- Filter and sort the fields according to their type, preferred alphabetical order, or creation status.
Tip: To edit or delete one of the existing fields, click the Dotted Menu and select the corresponding option.
Note: The created fields become available in the Visual Editor as widgets under the Collections grouping to design and customize collection templates accordingly.
Creating a Field
To create a field:
- Go to Item Management > Fields on the Dashboard.
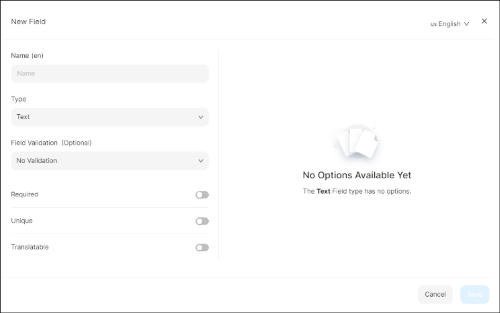
- Click +New Field.
- Fill in the field name.
- Select the field type from the drop-down list.
For the text type field choose a validation (Number, Email, Decimal, URL), if required. - Create appropriate options, if required, according to the selected field type.
- Activate the necessary configs, considering your business requirements.
- Click Save.
Note: After creating fields, go to the Collections page to group and assign them to collections based on your specific requirements. Once the fields have been assigned to a collection, they become accessible when creating an item within that particular collection to provide the relevant information.
Field Types
To provide specific information about the items, you can create fields of various types:
| Field | Description |
|---|---|
| Checkbox | This type enables you to create different options for your customers. It is a simple and intuitive control that allows your customers to select one or more options on a list. Checkboxes are commonly used to gather user input or preferences. It is typically represented as a small square box that can be either checked or unchecked. |
| Text | You can add a description or any textual information with this Field type. Set the required (*No Validation, Number, Email, Decimal, *and URL) validation rule to ensure that the entered text meets specific criteria. |
| Selection | Use this field type to create item options, offering your customers the flexibility to choose the desired variant. Customers can make their selection based on various elements such as Image, Color, and Text or choose from the Dropdown. |
| Multiselection | Use this type to predefine a set of options for your customers as a clear and intuitive way to indicate multiple preferences. |
| Boolean | With this type, you can create only true and false values allowing your customers to make binary choices. |
| Date and Time | You can use this field type to incorporate a standardized input method for date and time values on your website. This ensures uniformity and consistency in the format of date and time information across your website. |
| Date | Use this type to ensure a consistent date format and reduce errors when working with date information. |
| File | The field type provides a convenient and standardized way to upload files to the project. |
| Image | You can use this field type to upload image files from your local system. |
| Gallery | Use this field type to manage and showcase a collection of images for the items. |
| Rich Text | Use this field type to enter and format text with various formatting options. |
Field Configurations
You can configure each field separately, considering different business perspectives:
- Make a field mandatory for the collection by enabling the Required config.
- Prevent duplicate data within the collection by activating the Unique config, which ensures precise data to make informed business decisions and gain valuable insights into customer preferences;
- Enable the Translatable config to allow the field data to be translated into different languages, providing multilingual support and enhancing the accessibility of your content.
- Activate the Filterable config to make the filed data accessible in the filter, allowing your customers to find the specific items they are searching for based on the specific criteria.
- Activate the Content per locale config to provide localized content tailored to your target customers in different regions. It enables you to create and manage multilingual content, ensuring that your website caters to the preferences and needs of users from various locales.
💡 If you have questions or concerns, contact us directly via the Live Chat box in the lower right corner. Our Support Team will provide you with top-notch quality support 24/7.