Items are independent units within a collection. For instance, each article is an item within a collection of blog posts. You can update the item SEO, and add item name, categories, and the details necessary for the predesigned fields assigned to the relevant Collection. It also simplifies the creation of multiple items by using the existing collection template, saving time and ensuring consistency throughout the collection.
You can assign one or multiple categories to an item and define one as the default category. If no default category is specified, the first category assigned automatically becomes the default for that item.
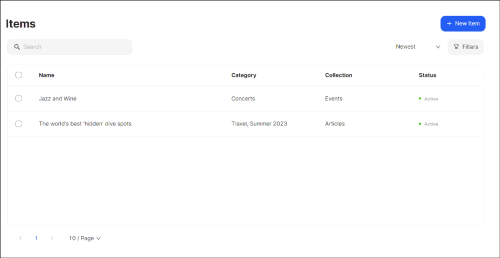
Here you can:
- create a new item;
- search for the relevant item;
- filter the items according to the corresponding criteria;
- sort the items according to the preferred alphabetical order or creation status;
Tip: To edit or delete one of the existing items, double-click or hover over it and use the Dotted Menu.
Creating an Item
To create an Item:
- Go to Item Management > Items on the Dashboard.
- Click +New Item.
- Choose one of the existing collections to gain access to the set of predefined fields for providing the relevant data.
In case you need more fields, create the required ones and assign them to the given collection. - Fill in the Details, specifically the item Name.
- Choose one or more categories, if required, to include the item in the preferred category.
You can select a category as the default by marking it with a star. If you do not star any category, the first category is automatically set as the default one. - Make the item visible in the public mode, if required, by activating the visibility toggle.
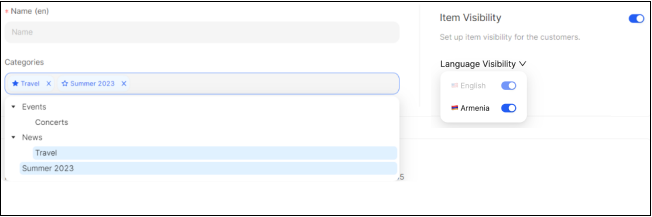
7. Make the item visible for specific languages of the website. Note that Language Visibility is always enabled for the default language.
8. Choose related items to encourage your customers to explore additional relevant content.

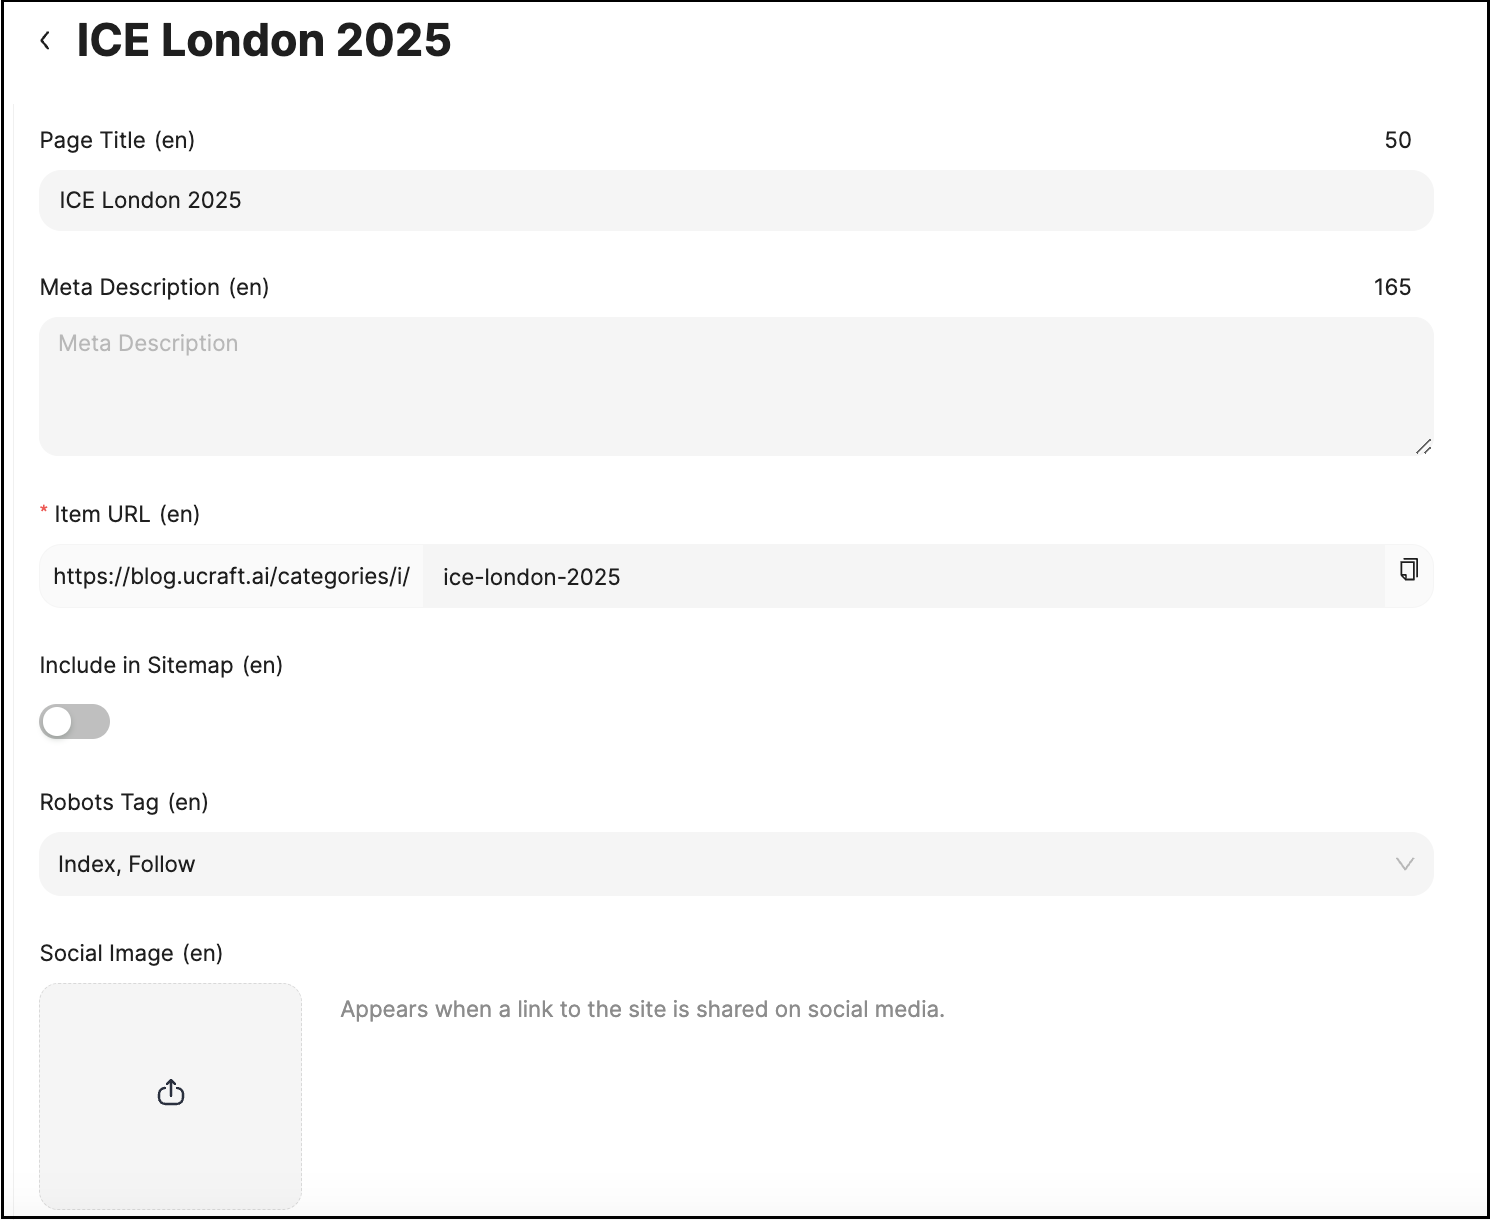
9. Fill in the SEO section:
- Specify the meta title and description;
- Modify the auto-generated URL alias, if required;
- Activate Include in Sitemap toggle if you want the given item page to be added to your sitemap;
- Select Robots Tag from the list to control how search engines index this page and follow the links on it.
Upload a Social Image when the content is shared on social media platforms to ensure a visually appealing and engaging preview for users.
10. Click Save.
Note: After saving, appropriate pages are automatically generated in the Visual Editor.
Access the Visual Editor to customize item pages separately, if required, using the widgets under the Collections grouping.
💡 If you have questions or concerns, contact us directly via the Live Chat box in the lower right corner. Our Support Team will provide you with top-notch quality support 24/7.