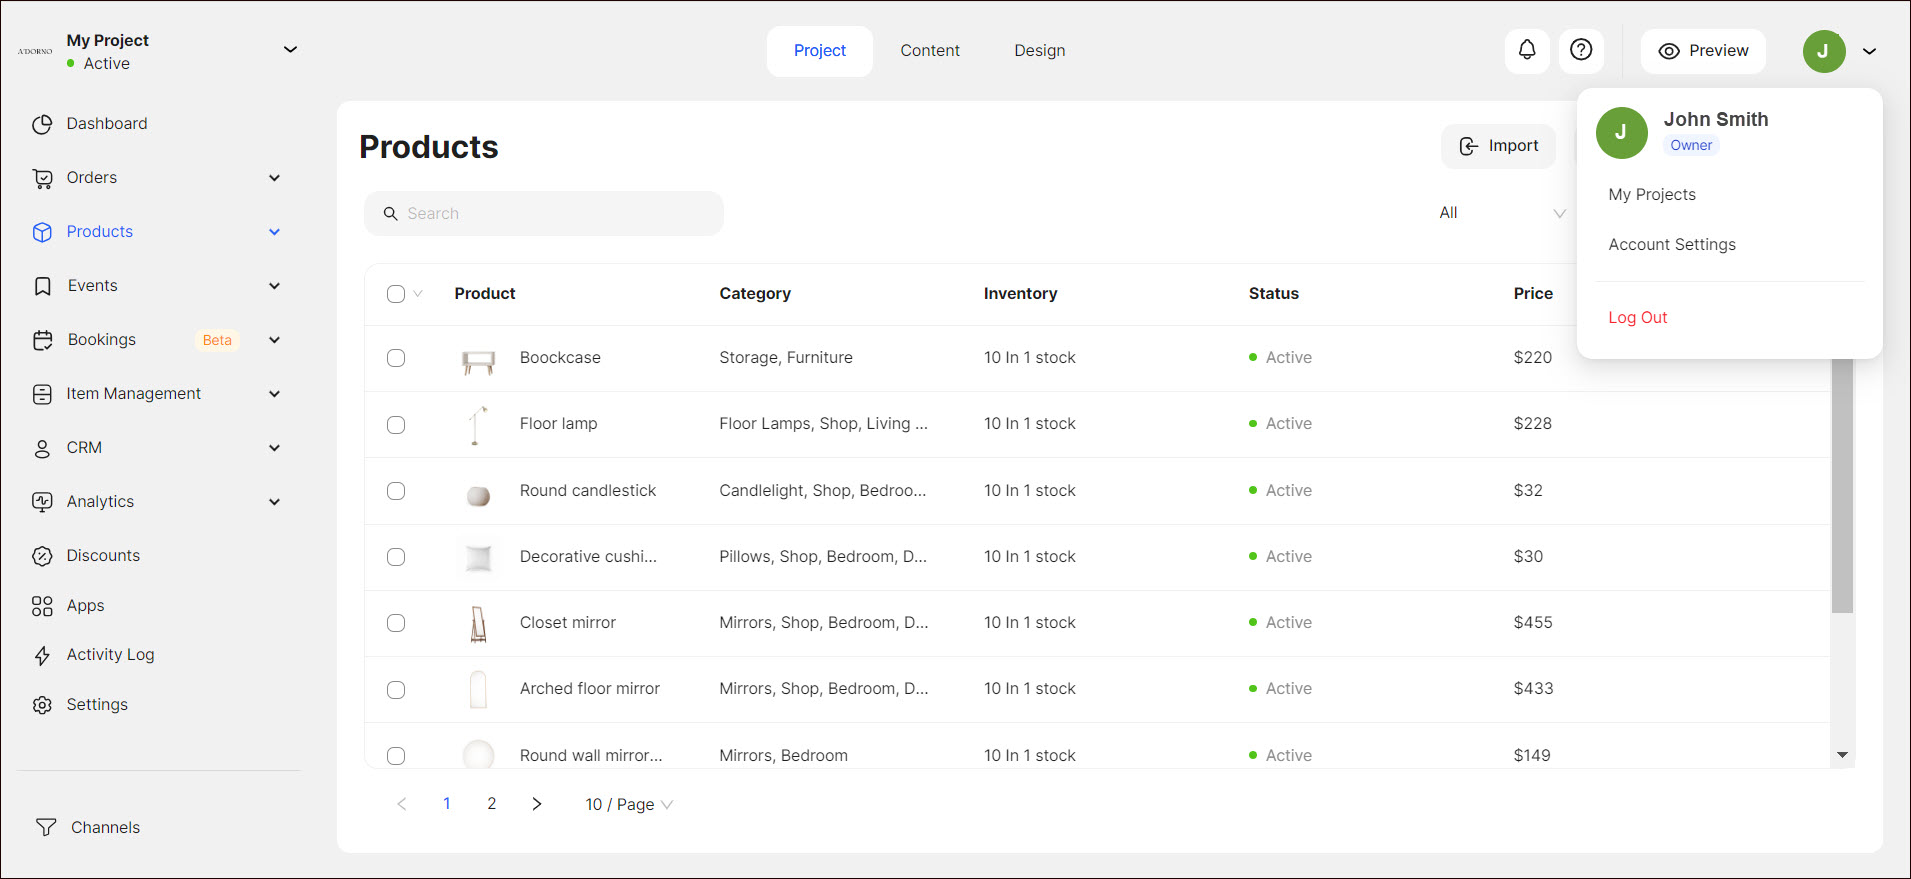
The User Account section enables you to access and interact with your account in a more customized and convenient manner. It allows you to view and manage your projects and account settings.
To access the section, click on your account name on the upper right and select the corresponding page.
The section has the following pages:
My Projects
My Projects enables you to seamlessly manage and keep track of your ongoing or planned projects. Once you create a project, it appears on the My Projects page. The page allows you to keep your projects organized and reachable in one place.

Here you can:
- Search for the corresponding projects.
- Sort the projects according to alphabetical order, creation, and modification status.
Tip: To manage your projects, click the Dotted Menu and choose the appropriate option.

Creating a Project
To create a new project:
- Go to My Projects.
- Click + New Project.
Indicate the project name and select the business location from the drop-down list.

Indicate how many people are involved in your project in the Team Size section.

Select the type of your project from the Business Industry drop-down list.

6. Select how to proceed with your website design:
- Start with a designer template
Choose from a variety of professional ready-made designs. - Hire a Ucraft Expert
See Hiring Experts on Fiverr. Let the Ucraft AI Copilot generate my website
See UC AI Copilot.
7. Start the trial.
Note: When taking an action, click Continue or press Enter to proceed to the next step.
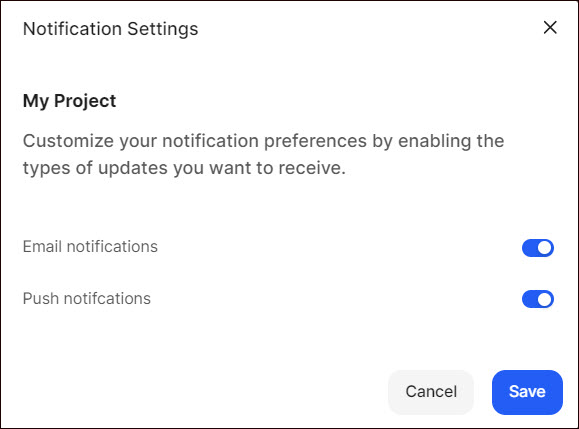
Configuring Notification Settings
To configure project notification settings:
- Go to My Projects.
- Click the Dotted Menu and select Notification Settings.
- Enable the Email Notifications toggle to receive notifications about new updates directly to your inbox.
- Enable the Push Notifications toggle to receive instant alerts and updates directly to your device.
Account Settings
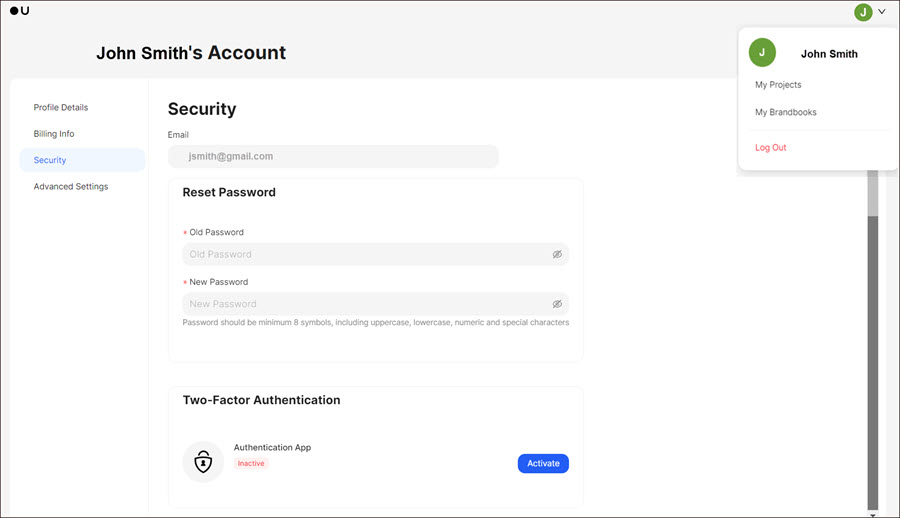
Account Settings allow you to tailor the functionality, appearance, and security of your account to better suit your preferences. Account Settings have the following pages:
- Profile Details : Allows you to edit the profile details you entered during onboarding. You can update your name, the language of your platform, and your avatar image. To receive emails about the new features, promotions, and updates of Ucraft Next, tick the corresponding checkbox.
- Billing Info: Allows you to edit your billing information.
- Security: Enables you to reset your password and activate the Two-factor authentication functionality to ensure the security of your account (see Securing Your Account with Two-factor Authentication).
Advanced Settings allow you to:
- Download your account data. To do so, click Download My Data. Your account data is sent to your email, where you can download it.
- Deactivate your account to stop all activities. To do so, click Delete My Account.
Tip: Expand the user name in the upper right corner and select My Brandbooks to access the AI-generated Logo Maker.
Log Out
Once you have finished using your project it is necessary to terminate your current access to the account. This prevents unauthorized access by anyone who might come across the device or browser used to log in. To log out from the project, click your account name in the upper right corner of the page and then click Log out.
💡 If you have questions or concerns, contact us directly via the Live Chat box in the lower right corner. Our Support Team will provide you with top-notch quality support 24/7.