Event categories are groupings of certain events that share similar characteristics. They are used to classify events in your online store to make it easier for customers to navigate and find what they are looking for. Event categories enable customers to quickly locate the events they are interested in without browsing the entire catalog. For example, you can have categories "Concerts", "Exhibitions", “Workshops“ etc.
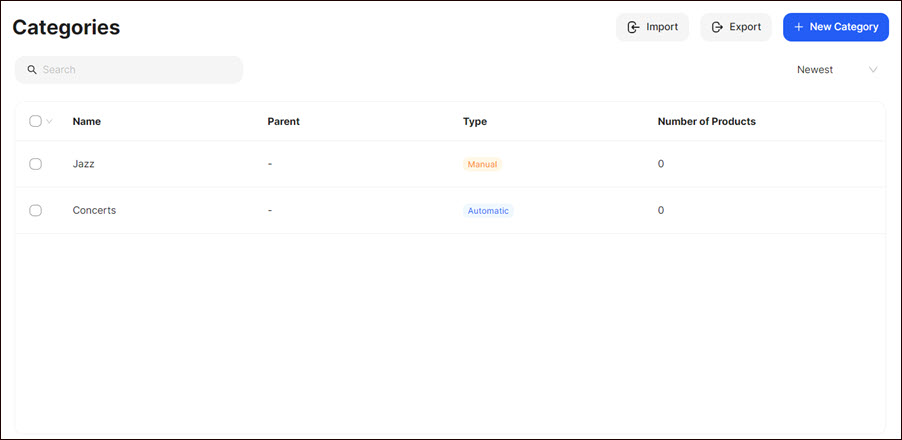
Here you can:
- create a new category;
- search for the corresponding categories;
- sort the categories according to alphabetical order, or creation status;
- import and export categories (see Importing and Exporting Files).
Creating an Event Category
To create an event category:
- Click + New Category.
- Select the type of the category: Manual or Automatic.
- Provide the information requested in the Details section:
- Indicate the category name that is displayed to the customer
- Enter the category general description.
- Activate/deactivate the Category Visibility toggle to display/hide the corresponding category from the customers.
- Make the category visible only for specific languages on your website
Note: Language Visibility is enabled automatically for the default language.

4. Add icons or images of your category to the Media section:
- Click + Upload and select the corresponding icon or image from the computer.
Note: Upload images up to 300KB for better performance and storage efficiency.
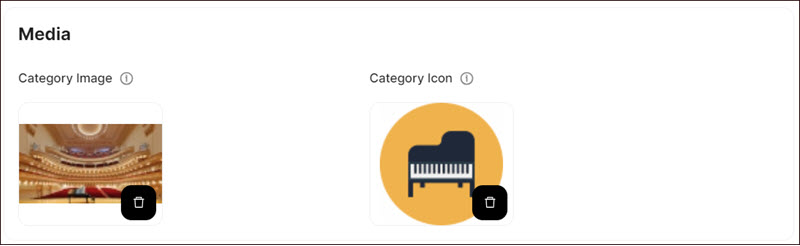
- Click the settings icon on the image, enter the image title, description, and ALT name in the popup that opens, then click Save.
Tip: To remove the image, click the delete icon.

5. Select one of the available categories in the Parent Category section, if you want to create a sub-category falling under a parent category. This allows you to organize events in a hierarchical structure. For example, you can have a parent category Concerts with its child categories Classical, Jazz, etc.

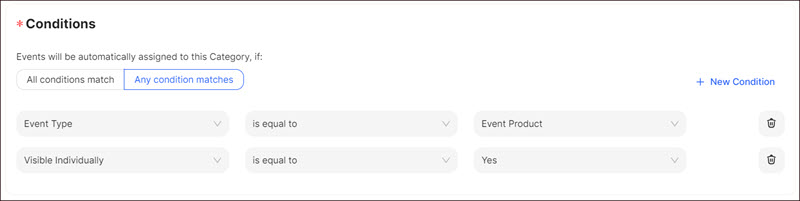
6. If you have selected the Automatic type, provide the requested information in the Conditions section:
- Click + New Condition to create a category-related condition for the event.
Note: Once you have completed this step, a drop-down menu of condition operators is activated. The available operators may vary depending on the first condition term. After you have chosen an operator, a corresponding input field or dropdown appears. - Choose the condition operator from the displayed drop-down list.
- Fill in the displayed input field with the appropriate data or select a corresponding option from the dropdown as a second term for your condition.
- Select All conditions match or Any condition matches to indicate in which case the products will be automatically assigned to the corresponding category․
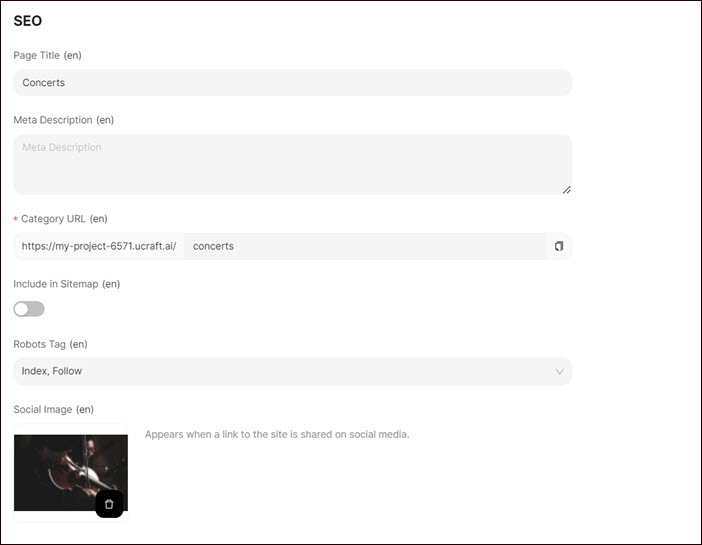
7. Provide the information requested in the SEO section:
- Indicate the page title and meta description.
- Modify the auto-generated URL alias, if necessary.
- Tick the Create a URL redirect checkbox to make the category page available under the updated URL.
Note: If you untick the Create a URL redirect checkbox, customers will be directed to the 404 page. - Activate the Include in Sitemap toggle if you want the event category page to be added to your sitemap.
- Select Robots Tag from the respective drop-down list to control how search engines index the event category page by search engines and follow the links on them.
Add a social media image of your category that will be displayed when you share a link to your category page on social media platforms like Facebook, Twitter, LinkedIn, and others.
To do so:- Click + Upload and select the corresponding image from the computer.
- Click the settings icon on the image, enter the image title, description, and ALT name in the popup that opens, then click Save.
Note: If no image is uploaded, the category main image will be applied by default.
8. Click Save.
If your website is available in multiple languages, select the corresponding language from the language drop-down list (see Settings > Languages) and enter category-related information in the selected language.

Tip: To delete or edit the event category, select the category from the list, click the Dotted Menu, and choose the corresponding option.
Once the category is created, a corresponding category page is generated in the Visual Editor, where you need to add the widget to display the category items on the website (see Product Category Name Widget). The category name is displayed on the Category Name widget. Clicking the category name navigates users to the corresponding category single page.
💡 If you have questions or concerns, contact us directly via the Live Chat box in the lower right corner. Our Support Team will provide you with top-notch quality support 24/7.