The forms have several purposes, such as fostering user engagement, generating leads, facilitating customer communication, and conducting comprehensive data analysis.
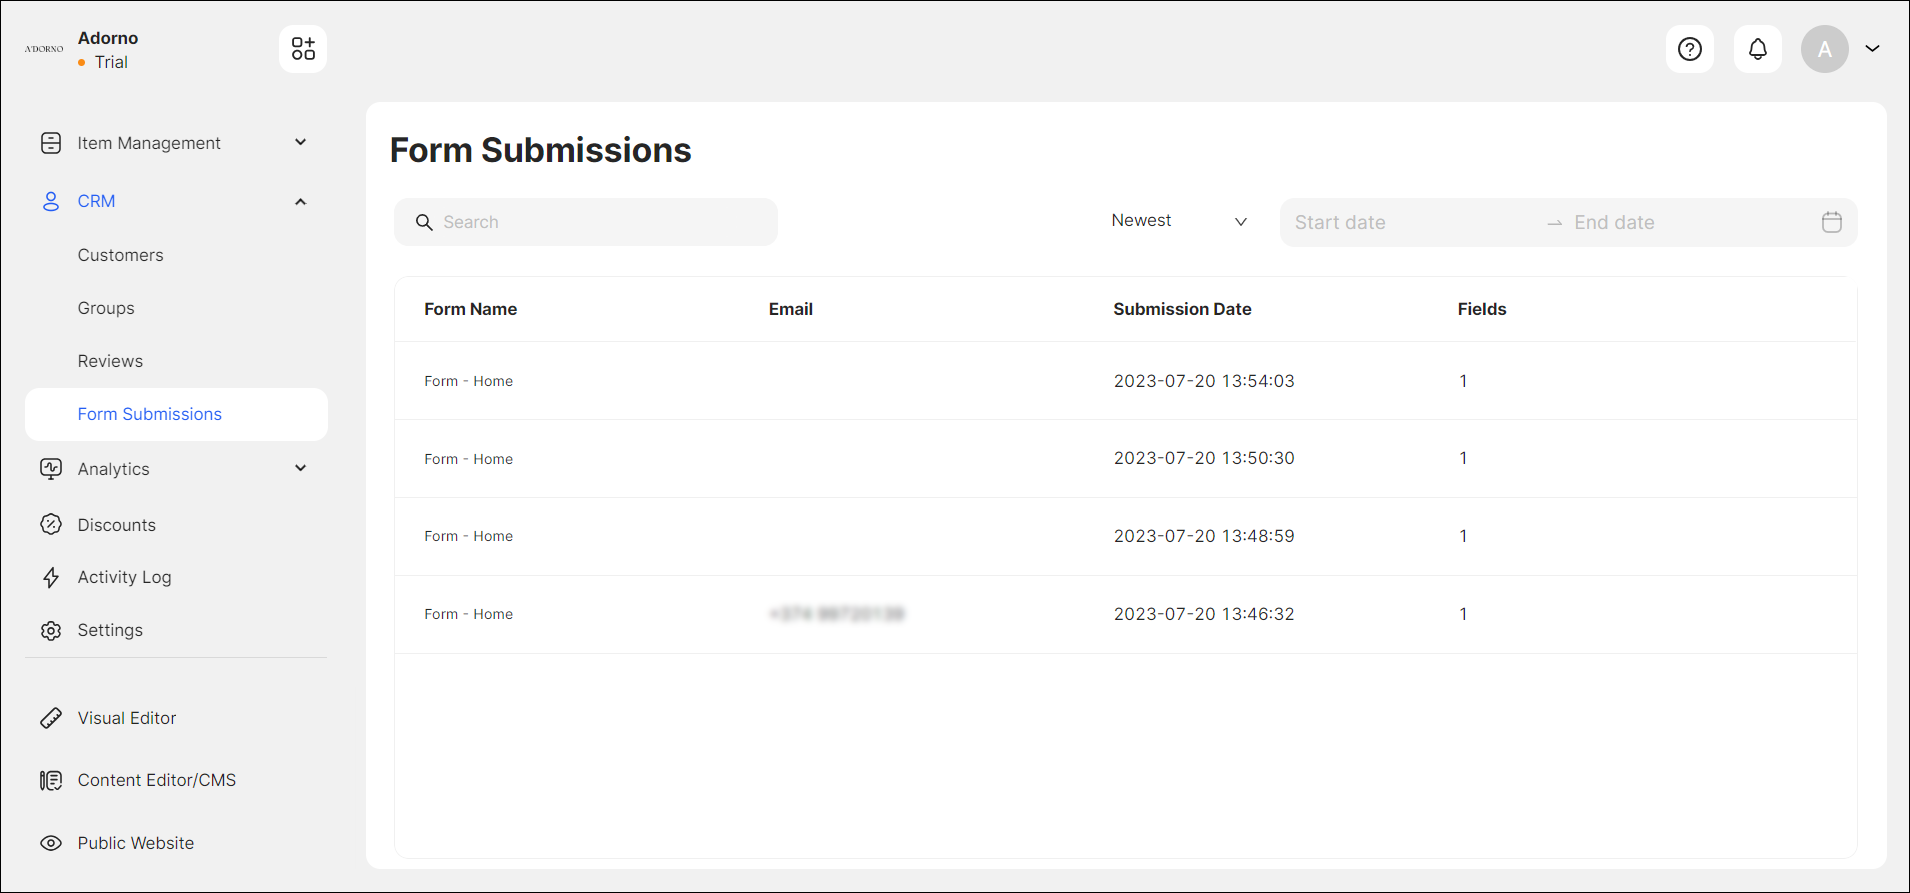
The Form Submissions section includes the forms submitted by your customers.

Here, you can:
- sort and filter the forms by a specific date range and creation status;
- search for the form submission data.
Enabling a Form Submission
To add a Form to your website, navigate to the Visual Editor, open the relevant page template you need to appear, and drag and drop the Form widget from the Essentials list (see Form Widget).
After you add the widget, and configure the form parameters, your customers can prompt the CTA button for submitting the form in public mode.

Once the customer has submitted a form, you receive an email notification with the data submitted. You can edit the notification message and its properties from the Dashboard > Settings (see Settings > Notifications).
Managing Forms
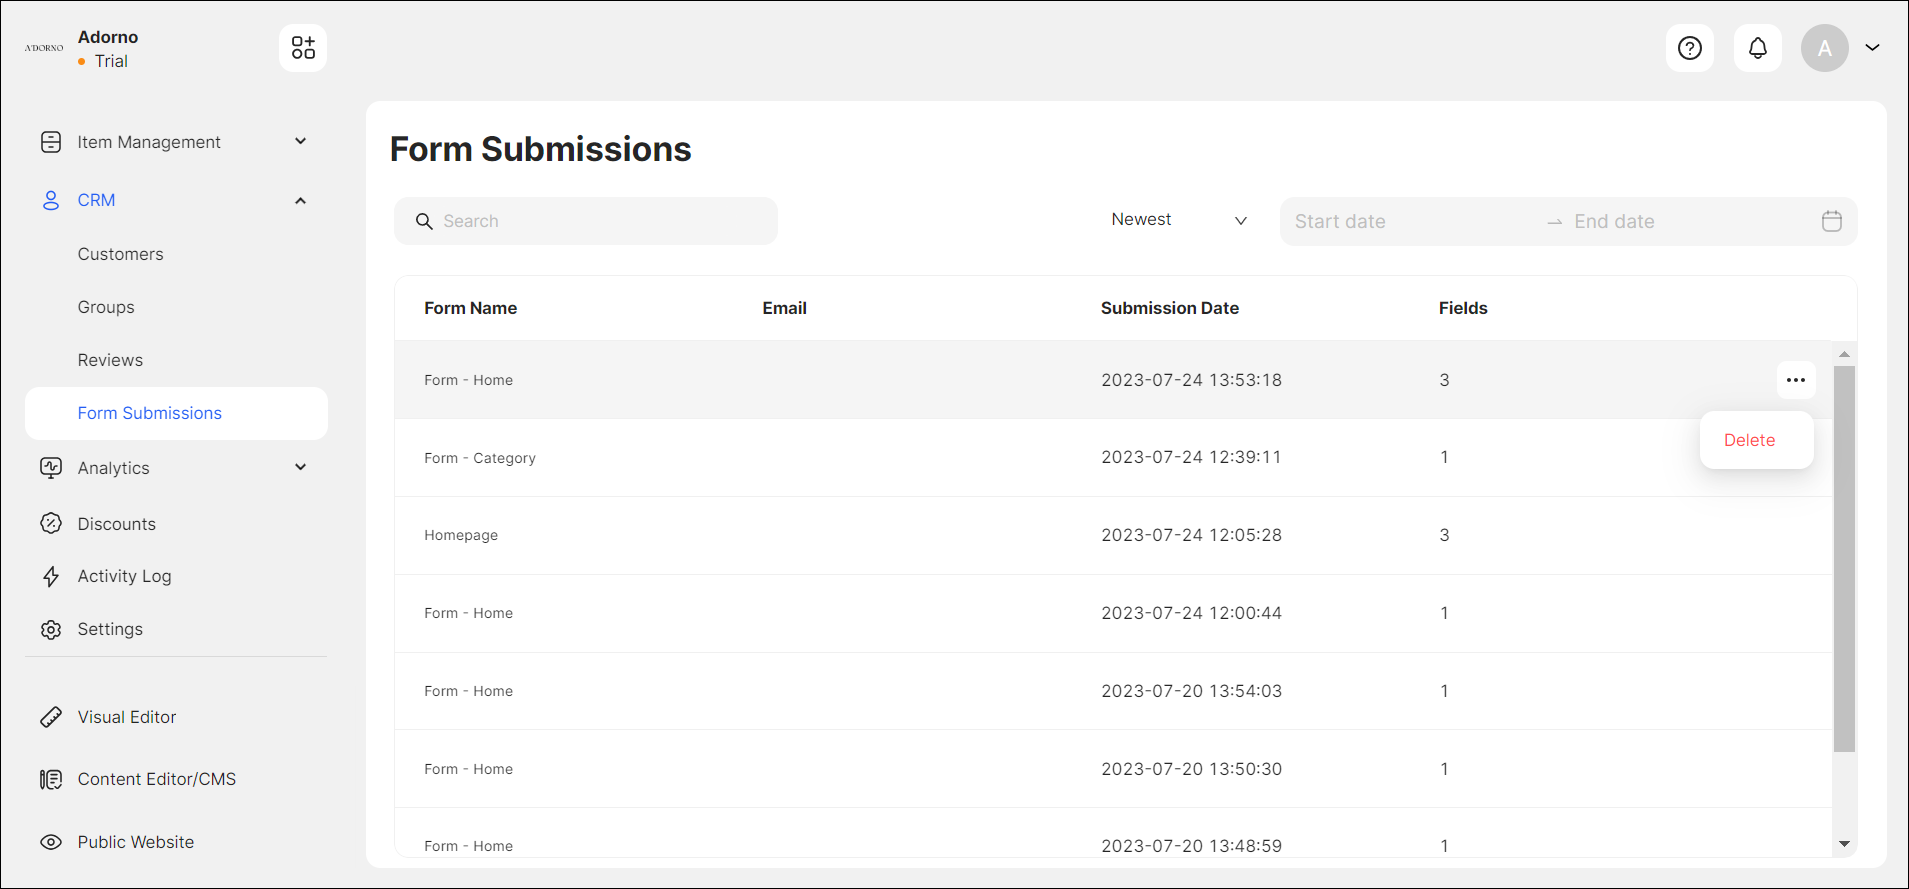
When the customer submits a form, it is displayed on the Dashboard > CRM > Form Submissions page. You can delete the form by clicking the Dotted Menu upon hovering.

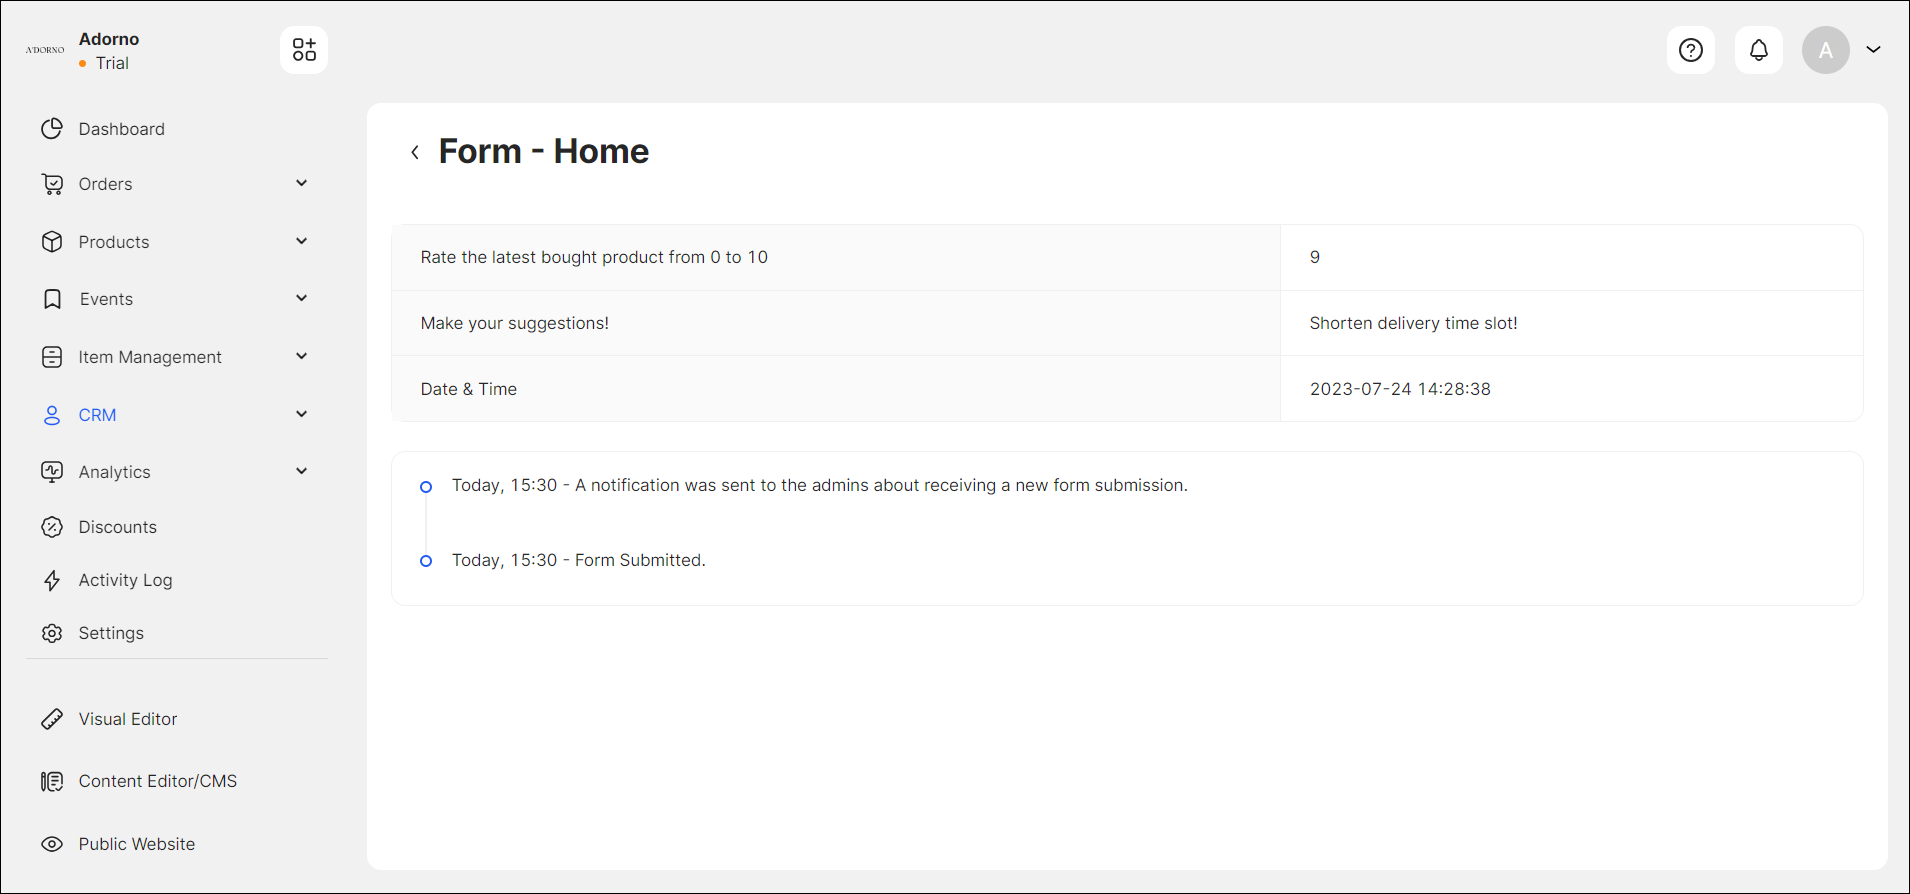
You can access the form details by clicking on the requested form in the list, which will redirect you to the Form Submissions details page.
The details page includes comprehensive insights such as the Form Name, the Category Page where the form is added, the Submission Date, the number of form Fields, and submitted values.

To configure the settings and properties of the Form, go to Visual Editor > Essentials Widgets > Form widget (see Form Widget).
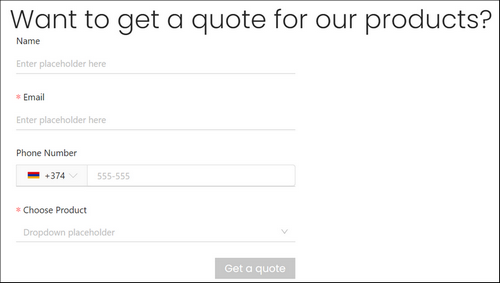
You can create a Survey Form, which can have multiple fields, including:
- Text (Name, Age, Occupation, etc., for demographic information)
- Multiple Checkboxes (Multiple choice questions with multiple options)
- Dropdown (Single-choice questions with a list of options)
- Email (Email Address placeholder)
- Text Area (Open-ended questions for more extended responses)
This example demonstrates how the form, with its relevant field types, can be used in a real-life scenario to collect some specific information from customers.
Depending on the purpose of the form and the data needed, you can combine the field types to create a comprehensive and user-friendly form.
💡 If you have any questions or concerns, contact us directly via the Live Chat box, in the lower right corner. Our Support Team will provide you with top-notch quality support 24/7.